
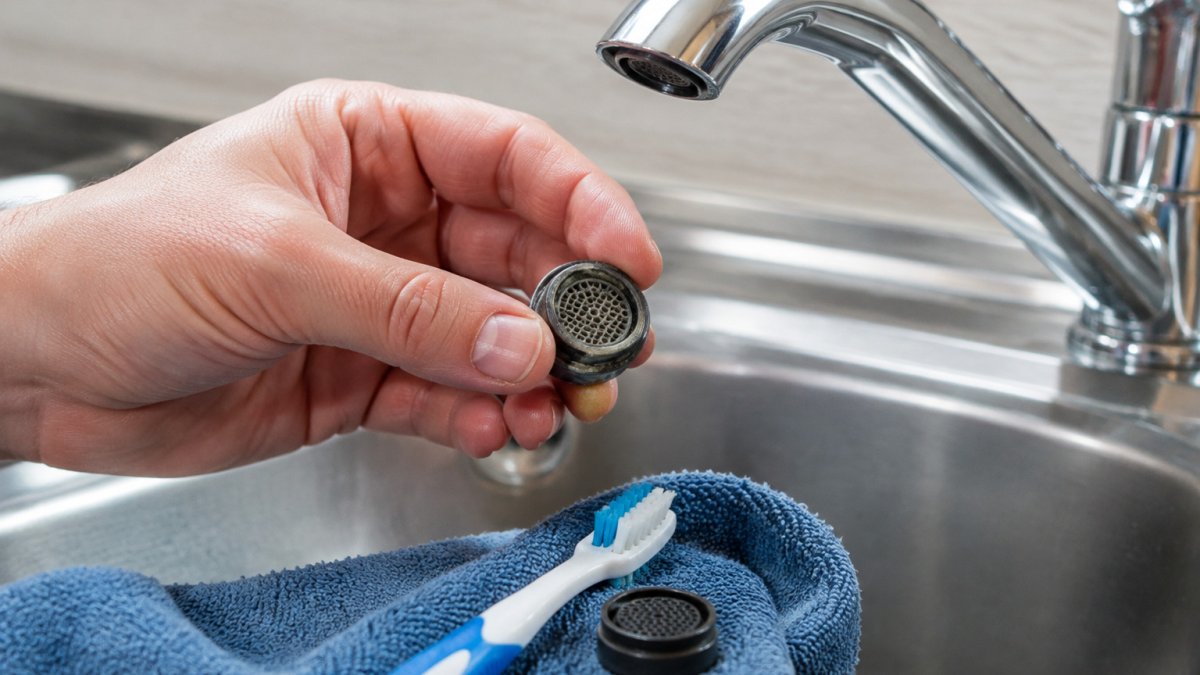
How Do You Clean a Tap Aerator for Better Water Pressure?
Table of Contents
- Why a Clogged Tap Aerator Reduces Water Flow
- How to Remove a Tap Aerator Without Damaging the Finish
- How to Clean a Tap Aerator with Vinegar and Water
- Low Water Pressure in One Tap: What Else Could Be Causing It
- When to Clean the Aerator and When to Replace It
- Getting Your Tap Flowing Properly Again: Next Steps
- Frequently Asked Questions
Last Updated: November 15, 2026
Why a Clogged Tap Aerator Reduces Water Flow
A clean tap aerator is the small mesh-screened fitting on the end of your tap, and it is the first place sediment and limescale collect. When it clogs, water squeezes through fewer openings, so the stream weakens or turns uneven. Cleaning the aerator is usually a quick fix that costs nothing but a few minutes.
Good news: you rarely need special tools. Most people can clean a clogged tap aerator in under 15 minutes with basic household items.
Signs your aerator needs cleaning
- The stream sprays in several directions instead of one clean column
- Water flow is weaker from one tap but normal from others
- Small white or grey specks appear in the water
- The tap sputters or spits air when you first turn it on
If only one tap seems weak, the aerator is the most likely cause.
How to Remove a Tap Aerator Without Damaging the Finish
Start by turning off the water supply under the sink or switching off the hot water if the tap is on a hot line. Then follow these steps:
- Wrap a cloth around the aerator body to protect the finish.
- Grip it with pliers or your fingers and turn it counterclockwise.
- Lift out the washer and screen, noting the order they came out in.
- Rinse each part under running water to clear loose debris.
Watch out: Metal aerators scratch easily. Use a cloth or rubber grip, and never force a stuck aerator with bare metal pliers.
Tools you need and how to protect the finish
You need only a small cloth, a pair of pliers, a soft brush, and a bowl. Wrap the pliers jaws in tape or a cloth so the chrome or brass finish stays clean.
Recessed and tool-free aerators
Some taps have a recessed aerator set inside the spout. These usually need a small aerator key, which fits the slots on the inside of the fitting. Tool-free aerators often twist off by hand once the water is off. If the aerator will not budge, stop and check the manufacturer's guidance rather than forcing it.
How to Clean a Tap Aerator with Vinegar and Water
!Hands in a kitchen holding a small brass tap aerator over a bowl of white vinegar beside a soft cloth
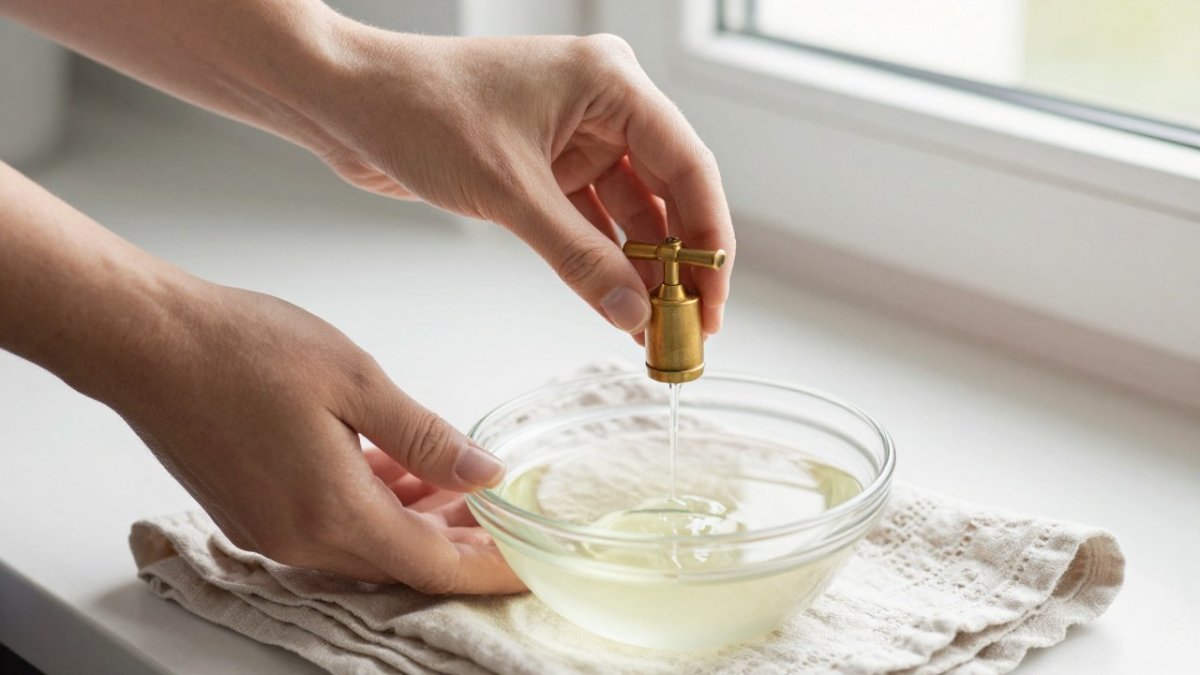
White vinegar is the standard household descaler for a tap aerator because the acetic acid dissolves the calcium and magnesium deposits that bond to the mesh. In Australia, the severity of that build-up depends heavily on the source of your water, since supplies vary widely in mineral content from one area to another.
A safe working mix is one part white vinegar to one part water. Use a small glass or ceramic bowl, avoid metal bowls, which can react with the acid. Fully submerge the screen, insert and washer, then leave them to soak.
How long to soak a tap aerator
Most tap aerators need about 30 minutes in a 50/50 vinegar and water mix to loosen light mineral film. Heavily furred aerators can be left for a few hours, but do not leave plated parts or rubber seals soaking overnight. A common pattern is that chrome-plated bodies and black rubber O-rings start to dull or swell after prolonged acid exposure, so check the parts at the 30-minute mark and scrub away loosened scale with a soft brush before deciding whether a second short soak is needed.
Watch out: Never use hydrochloric acid-based descalers, bleach or abrasive scouring pads on an aerator, they can pit the chrome, degrade the rubber seal and leave residue that affects drinking water. If the scale will not shift after two short soaks, the insert is likely beyond cleaning and should be replaced rather than attacked with stronger chemicals.
After soaking, rinse every part under running water, brush the mesh from both sides, and check that the small holes are clear before reassembling in the order you noted during removal.
The article's soaking guidance can be summarised as follows.
| Item | Value | Note |
|---|---|---|
| Vinegar mix | 1 part white vinegar to 1 part water | Standard household descaler |
| Typical soak | About 30 minutes | Check parts at the 30-minute mark |
| Heavily furred aerators | A few hours | Do not soak plated parts or seals overnight |
| Second soak | Short, if scale remains | Replace insert if scale will not shift |
| Bowl material | Glass or ceramic | Avoid metal, which can react with acid |
Low Water Pressure in One Tap: What Else Could Be Causing It
If cleaning the aerator does not restore flow, work through a simple decision path before assuming the worst. The goal is to separate a tap-level fault from a supply or whole-house problem.
- Check the shut-off valve. Under-sink isolation valves are often partly closed after maintenance or repairs. Turn the valve fully counterclockwise and test the flow again. A half-closed valve is one of the most common causes of a single weak tap.
- Compare taps. Run the same tap and a second tap (ideally a different outlet, such as the laundry or garden tap). If only one tap is weak, the fault is local to that fitting, the aerator, the cartridge or the supply line. If every tap is weak, the issue is upstream.
- Test hot versus cold. If hot flow is weak but cold is normal, the problem may sit in the hot water line or the tempering valve rather than the aerator.
- Check for a blocked cartridge. On mixer taps, a failing or scaled cartridge can restrict flow even with a clean aerator. If the tap drips, feels stiff or the flow is uneven when you move the handle, the cartridge may need replacing.
- Rule out a supply issue. If the whole house is affected, check with your water authority for planned works or supply interruptions, and confirm the main meter valve is fully open. In regional areas on tank or bore supply, a blocked pre-filter or pump fault can also reduce pressure.
Watch out: Do not repeatedly tighten or force a tap body while diagnosing pressure, overtightening can crack ceramic cartridges and create a leak that costs more to fix than the original problem.
If you have worked through these steps and the cause is still unclear, a licensed plumber can test line pressure and isolate the fault. If you are in the Northern Rivers region, Northern Rivers Hot Water can help diagnose the issue; contact us for a quote.
When to Clean the Aerator and When to Replace It
Clean the aerator when it is only lightly clogged and the mesh is intact. Replace it when the screen is torn, the threads are worn, or the stream stays uneven after several cleanings. Replacement aerators are inexpensive and easy to fit.
If the aerator and tap are not the problem, the whole hot water system may be failing. Watch for rusty water, strange noises, or rising bills. Our guide to five signs your hot water system needs replacing covers the warning signs in more detail.
Getting Your Tap Flowing Properly Again: Next Steps
Once you have cleaned the aerator and reassembled it, turn the water back on slowly and check the flow. If the stream is still weak, call a licensed plumber rather than trying more fixes. Northern Rivers Hot Water provides hot water repairs across the Northern Rivers, including expertise in major brands. Contact us for help with your hot water system.
Frequently Asked Questions
How do you clean a tap aerator to improve water pressure?
Unscrew the aerator from the tap spout, wrapping it in a cloth to protect the finish. Take it apart, noting the order of the washers and mesh screen. Rinse debris from the parts, then soak them in white vinegar to loosen mineral buildup from hard water. Scrub gently with an old toothbrush, rinse thoroughly, and reassemble in the original order before screwing it back on by hand. Run the tap for a minute afterwards to clear any remaining particles.
How long should you soak a tap aerator in vinegar?
Soak the parts in white vinegar for around 30 minutes for light buildup. For heavier limescale from hard water, leave them overnight. Check the parts after soaking and scrub any remaining deposits with a soft brush. Rinse well before reassembly so no vinegar taste or residue is left in the water. Avoid leaving brass or chrome parts soaking for longer than needed, as prolonged acid exposure can dull some finishes.
Can a blocked aerator cause low water pressure in one tap?
Yes. A clogged aerator restricts the flow from a single outlet, so the problem usually affects only that tap while others in the home run normally. If you notice a weak or uneven stream from one tap only, the aerator is the first thing to check. If cleaning it does not restore flow, the cause may be a partly closed isolation valve, a sediment-blocked supply line or a faulty tap cartridge, and a licensed plumber can diagnose which.
How can you tell whether an aerator needs cleaning or replacing?
Clean the aerator if the stream is weak, spraying unevenly or sputtering, and the screen shows debris or limescale. Replace it if the housing is cracked, the threads are stripped, the mesh is torn or damaged, or the aerator still performs poorly after thorough cleaning. Replacement aerators are inexpensive, and matching the thread size of your existing tap makes fitting straightforward.

Need help with your hot water system?
Call Northern Rivers Hot Water for a free, no-obligation quote. We service Lismore, Ballina, Byron Bay, Casino and all surrounding areas.
0472 580 441